🧩 𝕍𝕀𝕄 - A Beginner's Guide to the Most Powerful Text Editor
ᴀɴ ᴇᴀꜱʏ ɢᴜɪᴅᴇ ꜰᴏʀ ᴀʟʟ ʙᴇɢɪɴɴᴇʀꜱ ꜱᴛᴇᴘᴘɪɴɢ ɪɴᴛᴏ ᴛʜᴇ ᴡᴏʀʟᴅ ᴏꜰ ʟɪɴᴜx


Table of contents
~ To start with VIM which stands for Vi IMproved is an easy-to-use text editor used by developers to speed up their coding development up to 300% which in turn leads to an increase in productivity over time 📊.
~ The most fun part about using Vim is that you don't have to use the mouse 🖱️ most of the time and even when using the keyboard you can do things efficiently but you might think that typing some characters to change, for example, text inside the parenthesis, is too confusing. In the first place, it is confusing but as you train using Vim regularly, at least using the key bindings, you'll find it easier and faster to rely on.
🪴 VIM Installation :
Linux distro
sudo apt install vimMac OS
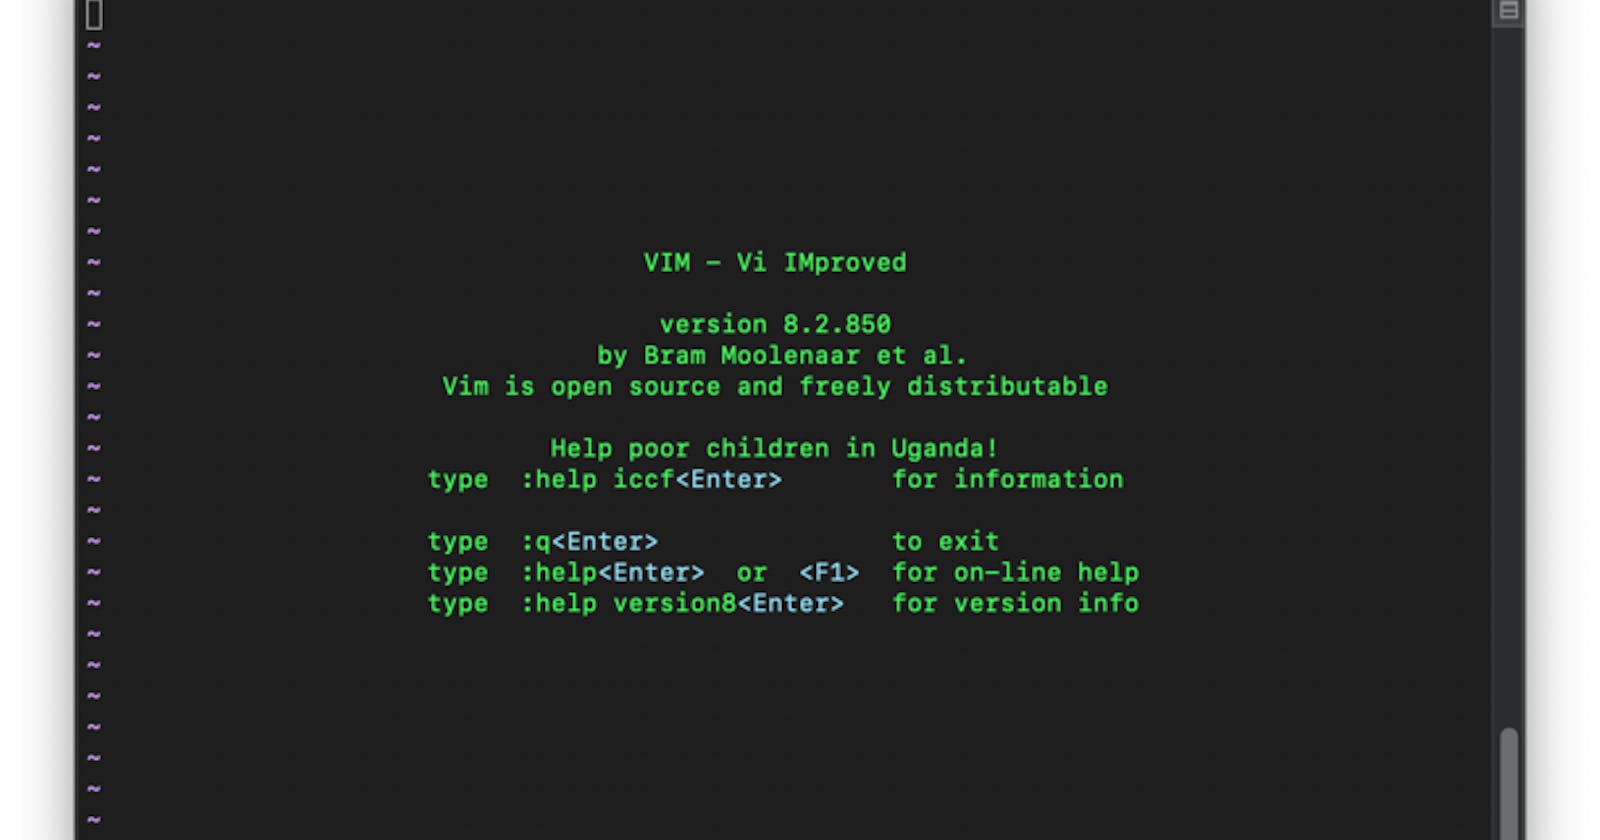
brew install vimNow after installing it check the
versionby typing :vim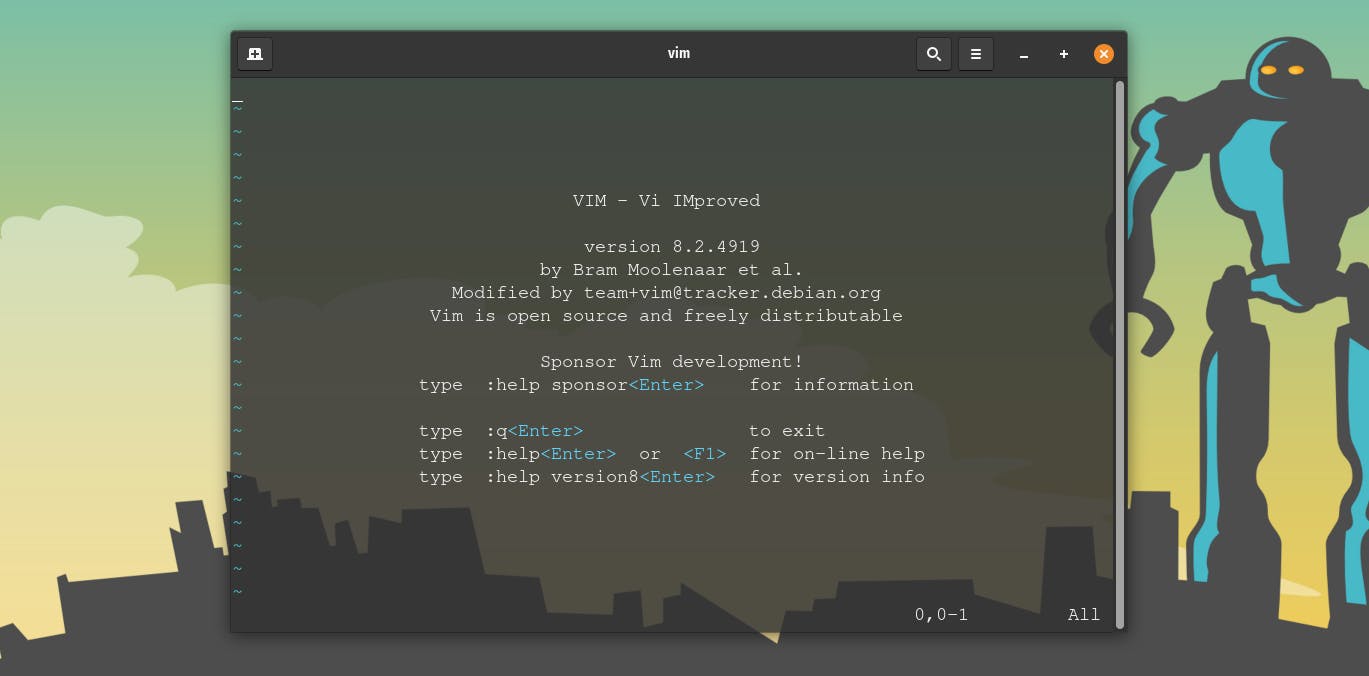
🍄 Working with VIM :
📂 Opening a file in VIM
vim client.c
If the file did not exist, then a new file named client.c will be created.
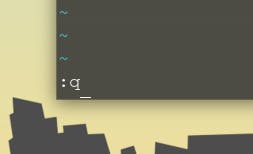
📤 Getting out(quit) of vim with no changes made to the original file.
:q
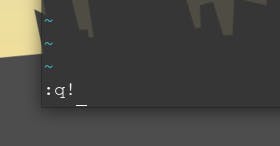
📤 Quit/Getting out of vim after making changes to the file without saving any changes made to the file.
:q!
✒️ Entering Insert mode in vim to start making changes to our files (entering any word or code into our client.c file)
Type
I/ito enter into insert mode and start typing something. By default, we're in normal mode when we enter vim.
- 🔪 To exit insert mode, we hit
escbutton and go back to normal mode again.
✒️ Writing into
vim(making changes to a file and saving the changes).:w:w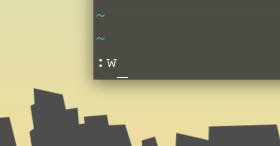
Writing and Quitting out of vim
:wq:wq
✒️ Undo/Redo into
vim(making changes to a file and reverting back the changes).- 🔪 To exit insert mode, we hit
Press escape key and then type
ufor undo andCtrl+rorredofor redou //undo redo //redo🐞 More about Insert mode in vim :
i(Insert): enters insert mode just before where the cursor points to.Before pressing
i(cursor on the letterp)#include<stdio.h> int main(){ printf("Using vim for the first time"); }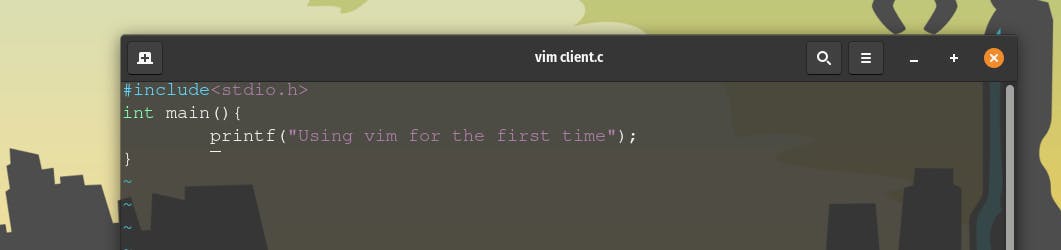
After pressing
iand typing out the lineprintf("after pressing i");it gets inserted beforepof the earlier printf() statement as the cursor was onp.#include<stdio.h> int main(){ printf("after pressing i");printf("Using vim for the first time"); }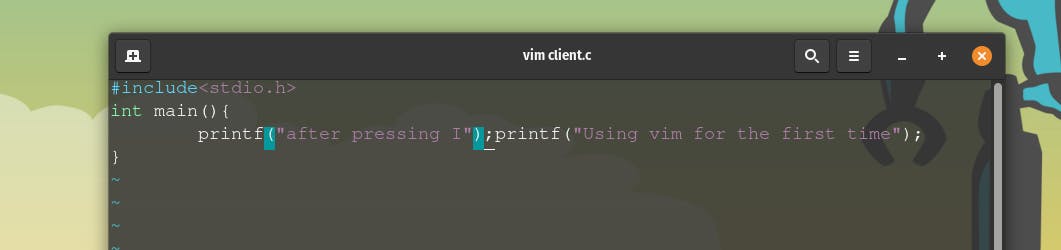
a(Append): enters insert mode just after where the cursor points to.Before pressing
a(cursor at last semi-colon;)#include<stdio.h> int main(){ printf("Using vim for the first time"); }
After pressing
aand typing out the lineprintf("after pressing a");, it gets printed after the semi-colon that the cursor was pointing to.#include<stdio.h> int main(){ printf("Using vim for the first time");printf("after pressing a"); }
O(Opening a new line): enters insert mode in a newline or allows us to write in a newline after the line the cursor is pointing to.Before pressing
O(cursor at last semi-colon;)#include<stdio.h> int main(){ printf("Using vim for the first time"); }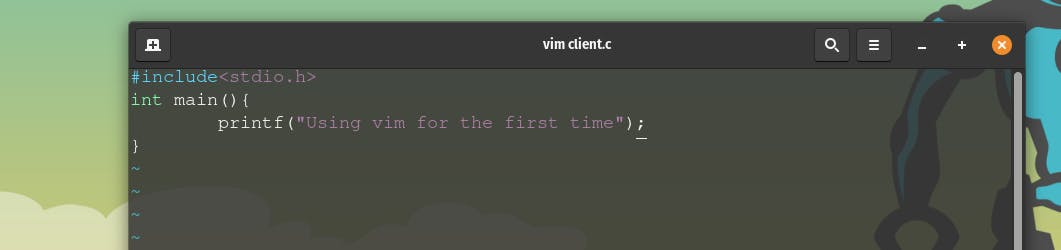
After pressing
Oand typing out the lineprintf("");, it gets printed in the next line after the semi-colon that the cursor was pointing to.#include<stdio.h> int main(){ printf("Using vim for the first time"); printf(""); }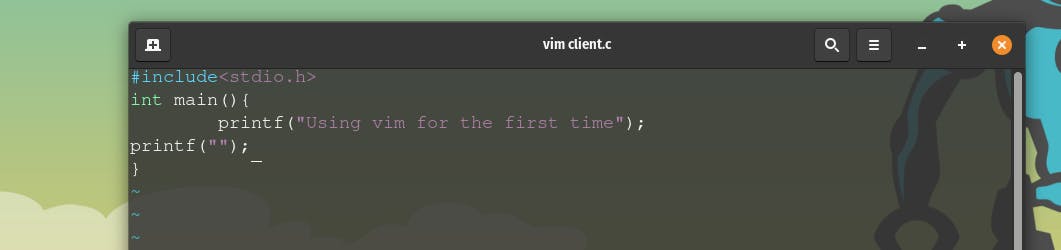
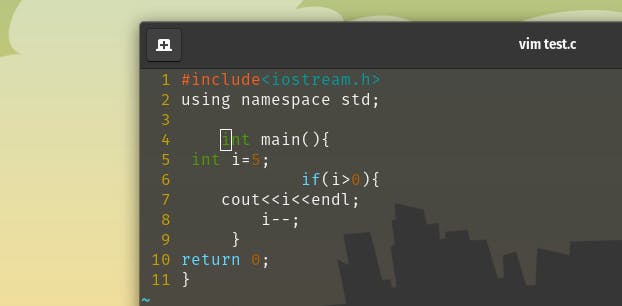
shift + i = Ienters insert mode in the beginning of the line.Before pressing
shift + i = I(cursor currently pointing to the middle of line number 3).
After pressing
shift + i = I(cursor points to the beginning of line number 3)
shift + a = Asimilarly appends to the end of the line.Before pressing
shift + a = A(cursor currently pointing to the middle of line number 3).
After pressing
shift + a = A(cursor points to the end of line number 3)
shift + o = Oopens insert mode in a line above.Before pressing
shift + o = O(cursor currently pointing to the middleprint statement).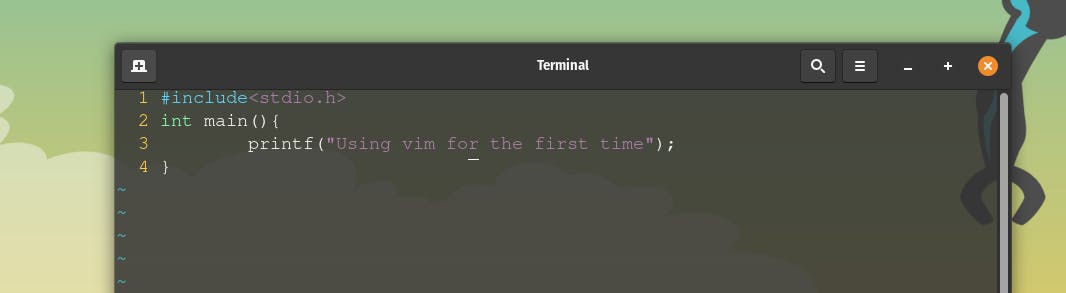
After pressing
shift + a = A(cursor points to the a newline before theprint statement).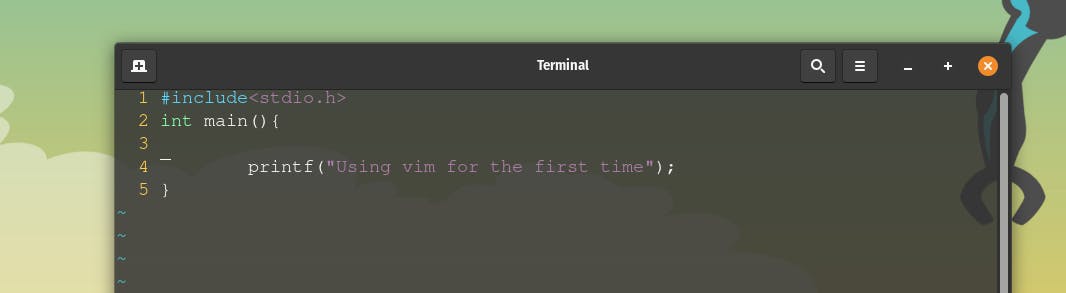
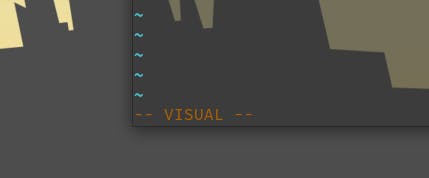
📺 Entering VISUAL mode in VIM:
V
✂️ Copy and 📋Paste in VIM
Note: Enter VISUAL mode to copy paste in vim.

Select the piece of text you want to copy, paste or delete by using arrow keys and then press the following commands after pressing
Copy: y (yanking)
Copy entire line: yy or Y (
come out of VISUAL mode and try this)Paste: p (
come out of VISUAL mode and try this)Delete: d (this means cut so the deleted object gets copied and you can paste this)
Change/Modify: c
Replace: r
  v //enter VISUAL mode
  y  //copy
  yy //copy entire line
  Y //copy entire line
  p //paste
  c //change
  r //replace
🌵 Other Key bindings in vim:
Setting line number in vim:
:set number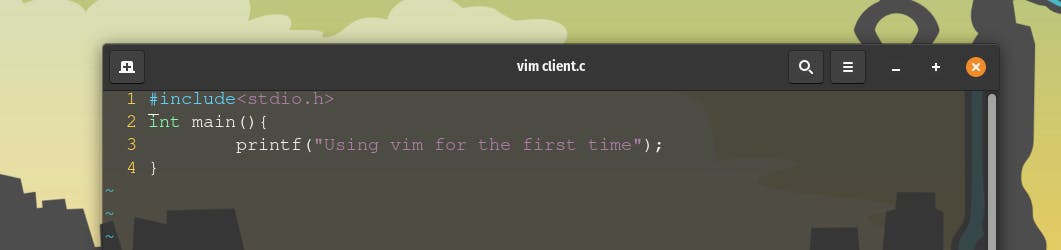
Before entering into insert mode if you want to move your cursor swiftly and jump between lines, you can do this ( P.S - numbers can be used to combine key bindings):
n + ➡ (right-arrow)[ n: any number ]5 -> // indicating jump from present cursor position to 5 positions after it.Initial cursor position:

Final cursor position:
You can try other combinations on your own such as :
n + ⬅ (left-arrow),n + ⬆ (up-arrow),n + ⬇ (down-arrow)[ n : any number ]H (move left), J (move down), K (move up), L (move down)
Note:
You can combine numbers with these letters too. For ex: if you type 4K, you move 4 lines up.
Setting relative line number in vim:
:set relativenumber
By default, you can't use your mouse to move the cursor in vim. You can set the mouse :
set mouse=aSetting the colorscheme in vim:
colorscheme bluewrite
colorschemeand press tab(⭾) to select from the different color scheme available.
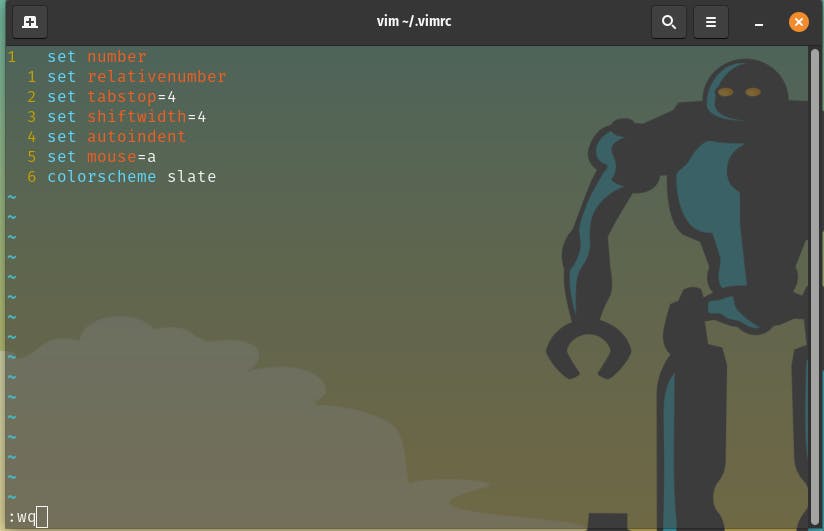
🔧 Configuring the vimrc file:
Everytime you open vim and you've to type out all the configuration commands such setting the colour scheme, line number, etc. again and again because the settings is not saved. For this purpose, we make changes to the vimrc configuration file to make the settings permanent for our usage!
Openthe vimrc config filevim ~/.vimrc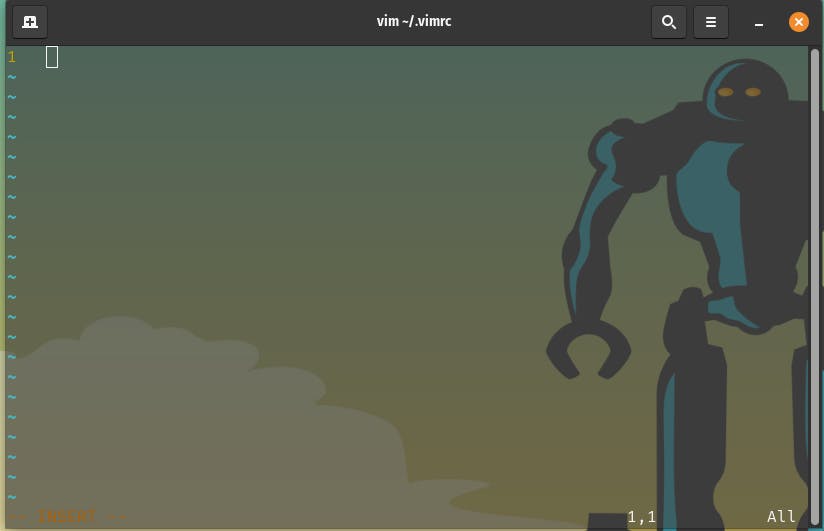
New vimrc file created if it doesn't exist previously
Now include all those configuration settings that you want in your vim.
Note: now if you use vim you have the all these settings saved from before and you donot have to type out those commands again and again.
👌🏻Interesting Key-bindings in vim:
Note: Every keybinding can be combined with numbers.
To repeat the previous command in vim use
.Jump to the start of the line in vim using
0.Jump to the end of the line in vim using
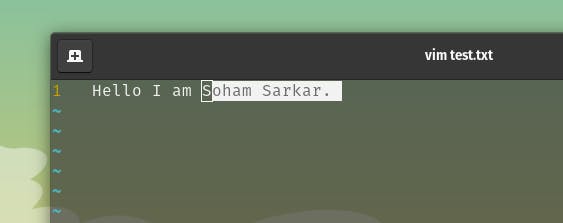
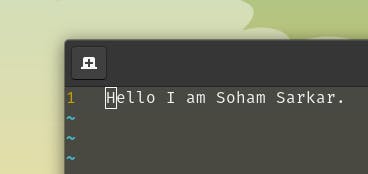
$(shift+5).Jump from one word to the next in vim using
w.Before jumping from one word to the next.
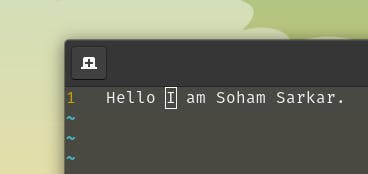
After the jump from Hello to I.
Note: Uppercase W is used to jump across several words separated by hyphens too. For example, we have the 2 words: Hello-I-am-Soham-Sarkar, and when we press uppercase W, the cursor moves to the second word Hello-I-am-Soham-Sarkar and does not jump to I of Hello-I-am-Soham-Sarkar of the first word, but if we used smaller case w, then the cursor would move to the second word separated by hyphen,i.e., I of Hello-I-am-Soham-Sarkar of the first word.
using Uppercase W
Before pressing W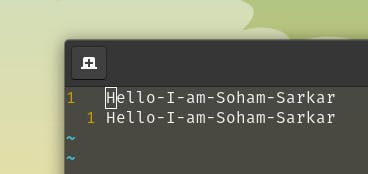
After pressing W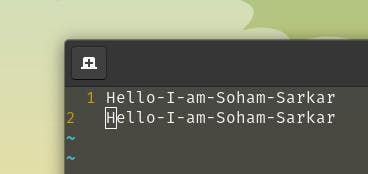
using smaller case w
Before pressing w
After pressing w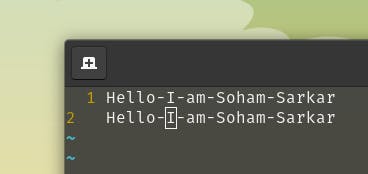
Jump from one word to the previous word in vim using
b. This is similar to w but in the backward direction.To jump to the end of the word
eTo jump to the beginning of the line
0.To jump to the end of the line
$(shift+4)To delete a word
dw.To delete an entire line
dd.To delete n words
dnw. For eg: to delete 2 words pressd2w.If the cursor is in the middle of a word and you press
dw, then it deletes only the remaining part of the word.To delete in a word, i.e., the entire word when the cursor is in between a word, then we press
diw(delete in word).To delete everything until the beginning press
d0.Explore
yiw, ciw.To change/delete something in between quote
" ", then useci"/di". Exploreyi",ci(,di(.To go to the starting of the file
ggand to go to the end of the file typeshift+g.To go to a specific line, for eg. line no. 200, we type
200Gor:200.To auto-indent a line, press equal to sign twice
==.To auto-indent from start to end follow these steps:
Press
ggto go to the starting of the file.Now type
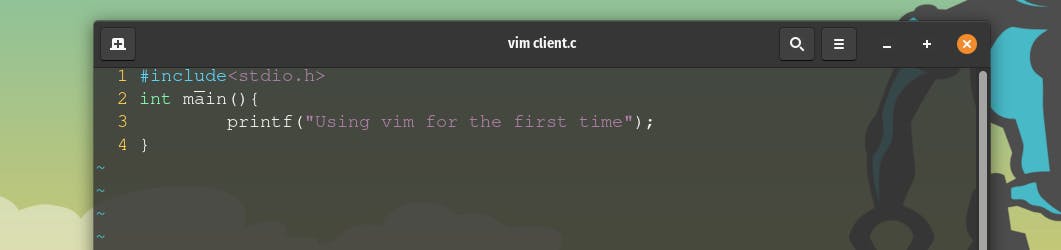
=Gto auto indent the file til the end.Before indentation:
After indentation:
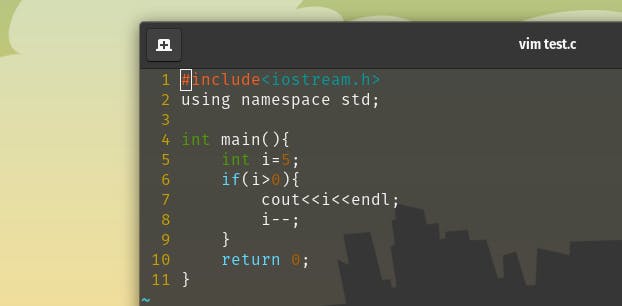
To jump to the next closing bracket corresponding to the opening bracket use
%(shift+5)Before jump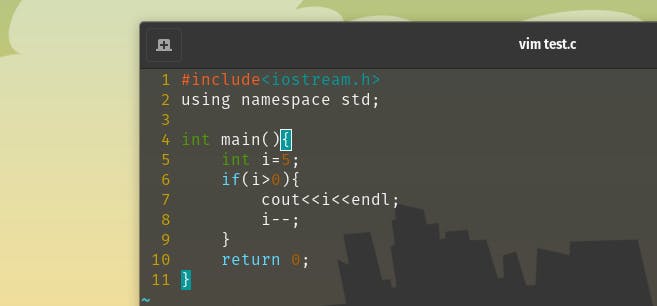
After jump
Guess wot happens when you press
d%
To jump from a position less than the desired symbol, we use t<symbol>.
For eg: to jump to a position less than
{symbol in line 4, we dot{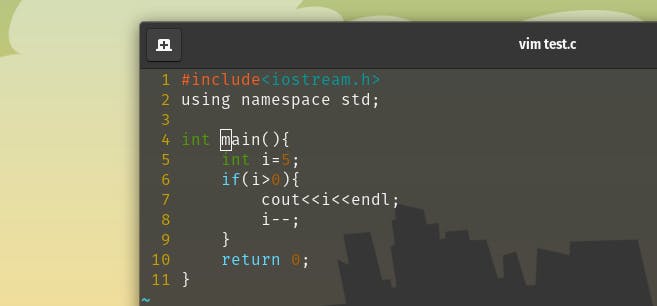
After pressing
t{, the cursor points to the closing bracket)before{.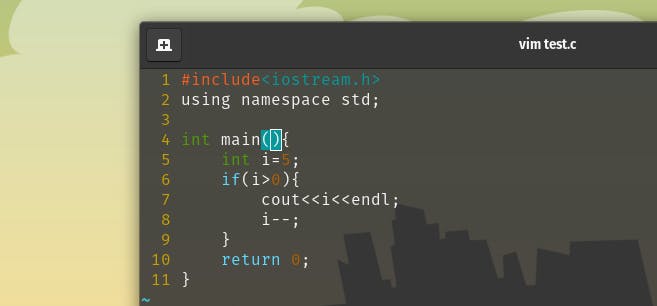
To jump to the exact position of the desired symbol, we use f<symbol>.
For eg: to jump to the exact position of
{symbol in line 4, we dof{
After pressing
f{, the cursor points to the{.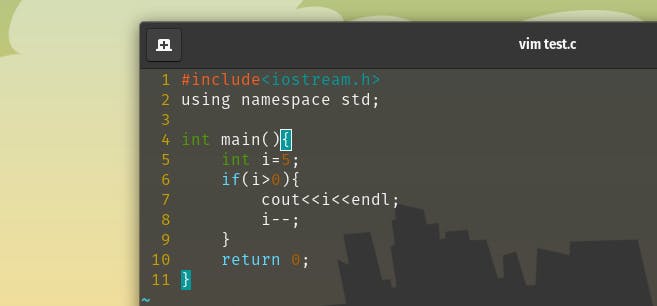
Explore what happens when you do
dt{when the cursor is atmof main().
Uppercase T<symbol> and uppercase F<symbol> does the same job but in backward direction.
To enter VIRTUAL block mode press
Ctrl+vand then we can select block wise text.
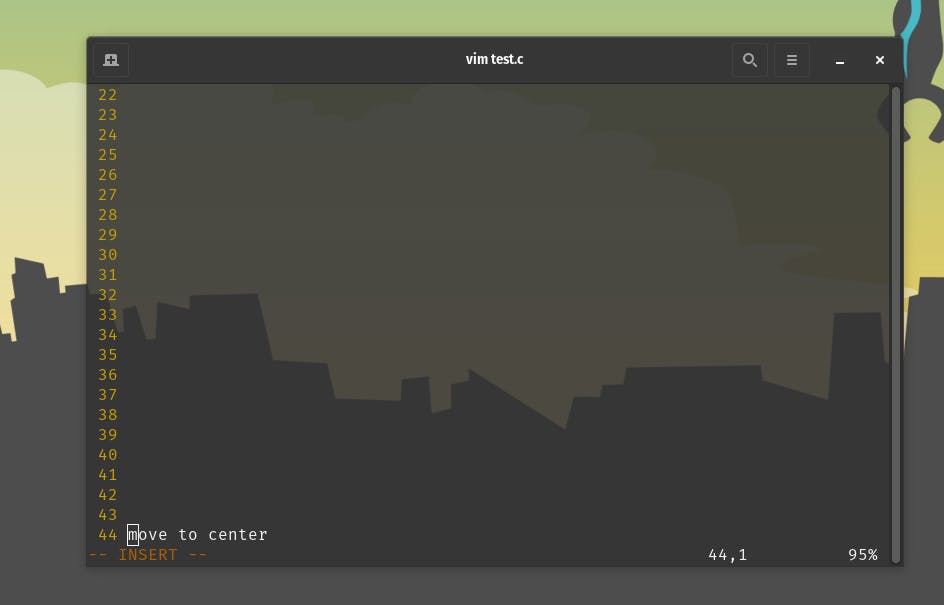
To move the current line to the middle of the editor press
zz.Before pressing:
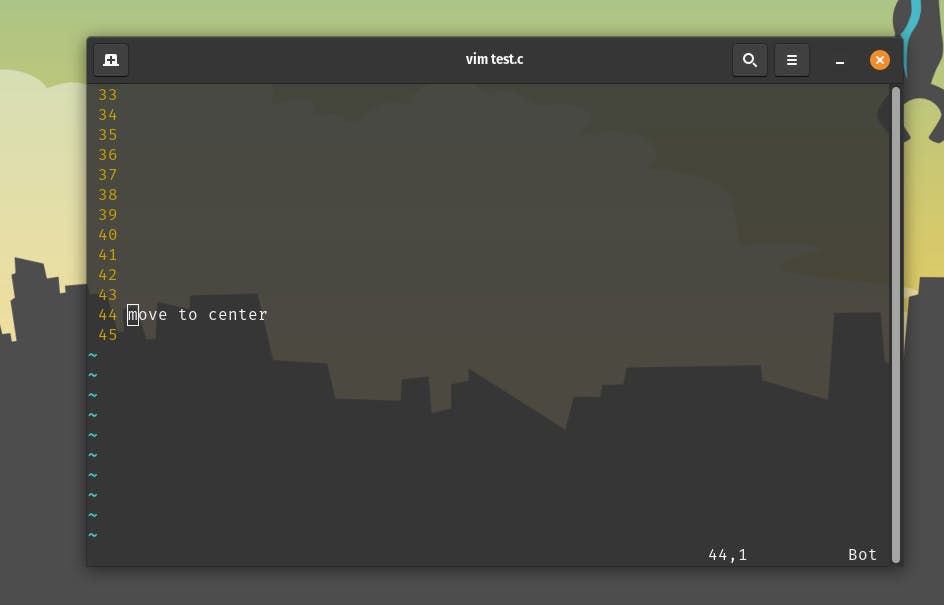
After pressing:
If you revisit a certain function multiple times due to some reasons, then you mark that as a waypoint. So, you can set a waypoint by typing
mfollowed by the character that you want to set the waypoint as, for eg let's takeahere, so you typema. Now when you are in a different position of the code editor and you type'a, you jump to the section of code that you marked as a waypoint.Eg: Copy paste this code into test.c using
ctrl+shift+candctrl+shift+v.#include <bits/stdc++.h> using namespace std; void merge(vector<int> &arr, int low, int mid, int high) { vector<int> temp; // temporary array int left = low; // starting index of left half of arr int right = mid + 1; // starting index of right half of arr //storing elements in the temporary array in a sorted manner// while (left <= mid && right <= high) { if (arr[left] <= arr[right]) { temp.push_back(arr[left]); left++; } else { temp.push_back(arr[right]); right++; } } // if elements on the left half are still left // while (left <= mid) { temp.push_back(arr[left]); left++; } // if elements on the right half are still left // while (right <= high) { temp.push_back(arr[right]); right++; } // transfering all elements from temporary to arr // for (int i = low; i <= high; i++) { arr[i] = temp[i - low]; } } void mergeSort(vector<int> &arr, int low, int high) { if (low >= high) return; int mid = (low + high) / 2 ; mergeSort(arr, low, mid); // left half mergeSort(arr, mid + 1, high); // right half merge(arr, low, mid, high); // merging sorted halves } int main() { vector<int> arr = {9, 4, 7, 6, 3, 1, 5} ; int n = 7; cout << "Before Sorting Array: " << endl; for (int i = 0; i < n; i++) { cout << arr[i] << " " ; } cout << endl; mergeSort(arr, 0, n - 1); cout << "After Sorting Array: " << endl; for (int i = 0; i < n; i++) { cout << arr[i] << " " ; } cout << endl; return 0 ; }Set line no. 4(merge function) as the waypoint by typing
ma.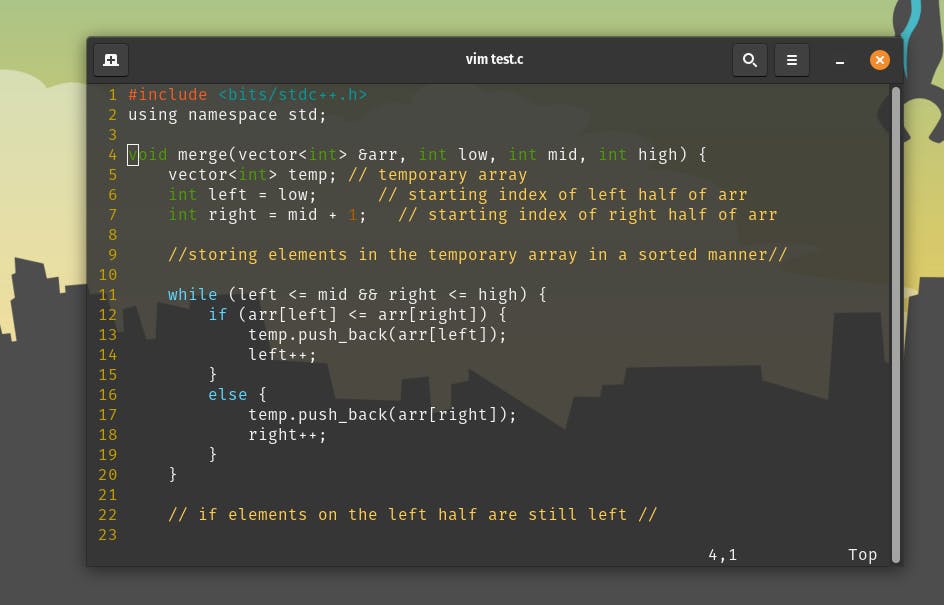
Now go to line no. 49 and press
'aBefore pressing
'a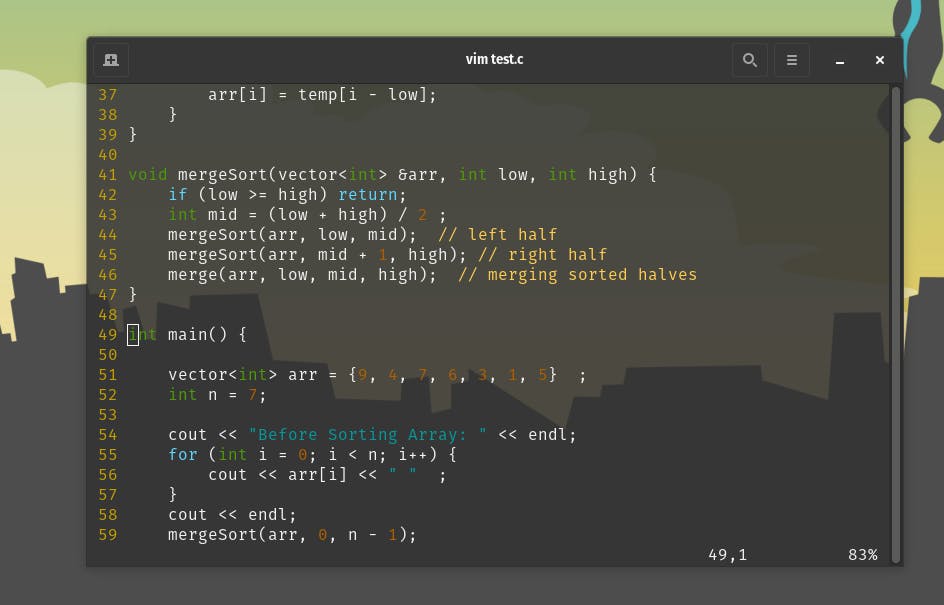
After pressing
'a
🔎 SEARCHING in vim
We search in vim using forward slash (/) followed by the word to be searched for. To jump to the next match for the following word we use n and to jump backwards to the previous occurance of the word we use uppercase N.
If you want to search backwards, not the next occurance but the previous occurance then you use the question mark(?) followed by the word to be searched for. Now, in this case if you press n, it moves backward and the N moves forward!
You can use hashtag (#) to check for the previous occurrence of the token. You can use star (*) to check for the next occurrence of the token.
📄 Searching and Replacing
To make each occurrence of a string with another string use: %s/string1/string2/g.
If you want to just modify each occurrence of a string with another string in a selected portion of text/code (enter visual mode to select piece of text/code), then use: %s/string1/string2/g.
💣 Extra:
If you type
:reg, you'll see the list of registers you'll see in vim. So whenever you copy, delete something then it gets stored in the register.If you want to copy something from the set of registers, say 7th register and paste then you've to use
"7pYou can explore more about usage of registers in vim.