

Photo by RetroSupply on Unsplash
🍂 How to Use Virtual Environments with the Built-In venv Module (Linux/Mac)🍁


Table of contents
The purpose to have a virtual environment is to have a space where we can install packages that are specific to a certain project.
venvcomes with all the python standard libraries unlike pipenv or virtual env.
For eg: Let's say you have a lot of Django sites that are using Django version 1 but you want to use Django version 2 in all of your new projects. If you're using single global environment, then when you update to Django version 2, it could break some/all of your old projects that used Django version 1. So we don't want all of our projects to point to a single instance of Django. Each project should have it's own packages separate from the other. That's why we make use of the virtual environment.
PermalinkRequirements
- Python 3.7 or higher (python)
Permalink🍄 Getting Started
Creating new virtual environment.
python3 -m venv project_namenote:
when you use -m flag and specify a module (like venv in this case), python will search your sys.path and execute that module as the main module.
To have access to all the system packages that are installed on the global version of python:
python3 -m venv venv --system-site-packagesActivate the virtual environment.
source project_name/bin/activate
note:
To check if our environment is activated or not use the following command:
which python
- The version of python that it's gonna use in this environment is going to be the same version as that was used to create this environment. If you want to use different version of python you've to use virtual env.
pip list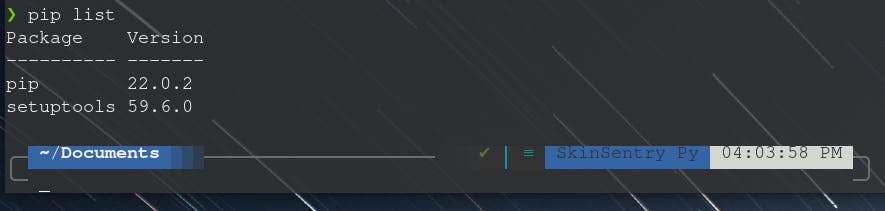
If you install some packages, then they'll only be installed for this environment.
Exporting the packages/dependencies that are being used for the specific environment.
We do this by using requirements.txt file. This will allow someone else to create an environment and use our requirements.txt file to install all of the same packages and dependencies that you're using(same versions even).
pip freezewill give you the exact version of the packages installed to be included in requirements.txtpip freeze > requirements.txtWhen we want to install the dependencies from
requirements.txtfile:pip install -r requirements.txt
Deactivate the virtual environment.
deactivateDeleting the directory of the virtual environment
rm -rf project_name/
Permalink🪴 WORK-FLOW AND CONVENTIONS
Try creating a virtual environment inside the project.
  mkdir project
  python3 -m venv venv
note:
Name the virtual environment as
venv.When we create any files and directories in our project, we would never put them in our
venv directory.The environment should be something that can be thrown away and rebuilt so we don't want to put any of our project files in there.
venv file shouldn't be committed to source control. Add virtual environment file to gitignore before committing it to a public repo.
Add requirements.txt file to source control.